Save Your Data: First Hour Phone Water Damage Fixes and Board Cleaning

Power the phone off immediately and do not charge it. Remove the case, hold the phone with ports facing down, and get it to a repair lab within 24 to 48 hours if the data matters. Skip the rice and the hairdryer. Every minute the board sits wet, corrosion spreads, and speed is the single biggest factor separating a full recovery from a dead motherboard.
TL;DR:
- Immediate action within the first hour, including shutting down and drying the exterior, significantly increases the chances of full recovery before corrosion spreads.
- Common DIY fixes like rice and hairdryers do little to prevent internal damage and can even worsen it by trapping moisture or causing heat-related damage.
- Signs of serious water damage include charge alerts, visible moisture behind the screen, or sudden power loss, with saltwater and detergents rapidly accelerating corrosion.
- Professional repair involves disassembly, ultrasonic cleaning, microscopic inspection, and microsoldering, with clear cost factors like diagnostics, parts, and board repairs.
- Quick professional intervention reduces the likelihood of irreversible damage, emphasizing the importance of sending the device to a repair lab within 24 hours rather than relying on home remedies.
Table of Contents
- Water Damaged Phone Fix: Your First-Hour Checklist
- Do’s and Don’ts: Why Rice and Hairdryers Make Things Worse
- How Serious Is the Damage? Warning Signs to Watch For
- What Professional Water Damage Repair Actually Involves
- What You Can Safely Do at Home Before Mailing It In
- Preventing Future Water Damage and Protecting Your Data
- The Publisher’s Perspective on Water Damage Repair
- Get Your Water Damaged Phone Diagnosed the Right Way
- Sources
- FAQ
Water Damaged Phone Fix: Your First-Hour Checklist
What you do in the next 60 minutes matters more than the phone’s model or how deep it went under. Follow these steps in order.
- Retrieve it fast and power it off completely. Do not just let the screen go dark. Hold the power button and shut it down fully.
- Strip the case and any attachments. Pop rings, MagSafe wallets, and cases can trap water against the frame and ports.
- Do not plug it into a charger, a laptop, or any USB source. Applying power to a wet logic board triggers electrolysis, a chemical reaction that eats through circuit traces in minutes, according to Rossmann Group.
- Stop pressing buttons to check if it’s alive. Repeated power attempts push moisture deeper and short components that were still dry.
- Wipe the exterior dry, then tilt the phone with charging port and speaker grilles facing down on a paper towel in a room with airflow, not a sealed drawer.
- Note the details: what kind of water (tap, pool, salt, toilet), how long it was submerged, and what time it happened. A repair technician will ask.
- If the phone boots on its own, back up your photos and files immediately. Don’t assume it’s fine just because it turned on.
Pro Tip: Set a timer for 30 minutes and resist checking the phone during that window. Every unlock attempt is a small gamble with corrosion odds already stacked against you.
Do’s and Don’ts: Why Rice and Hairdryers Make Things Worse
Rice absorbs surface moisture on the outside of the phone. It does nothing for the water trapped under the metal shields covering your processor, or inside the tightly sealed charging port, which is exactly where corrosion actually starts. Hairdryers are worse: heat can warp adhesive seals, melt internal cables, and push water further into the device instead of out.
Here’s what actually happens with the common “fixes”:
- Rice or silica packets: Passive and slow. Corrosion can begin within hours, long before rice pulls out meaningful moisture, based on findings from MDRepairs.
- Hairdryers and ovens: Heat accelerates oxidation on wet metal contacts and risks battery damage.
- Freezers: Condensation on thawing reintroduces moisture right where you don’t want it.
- Charging while wet: Running current through a damp board causes electrolysis, corroding pins and traces even faster than plain water exposure.
The only truly safe moves right now are power off, dry the outside, and wait for professional cleaning. Everything else either does nothing or actively shortens the phone’s remaining lifespan.
How Serious Is the Damage? Warning Signs to Watch For
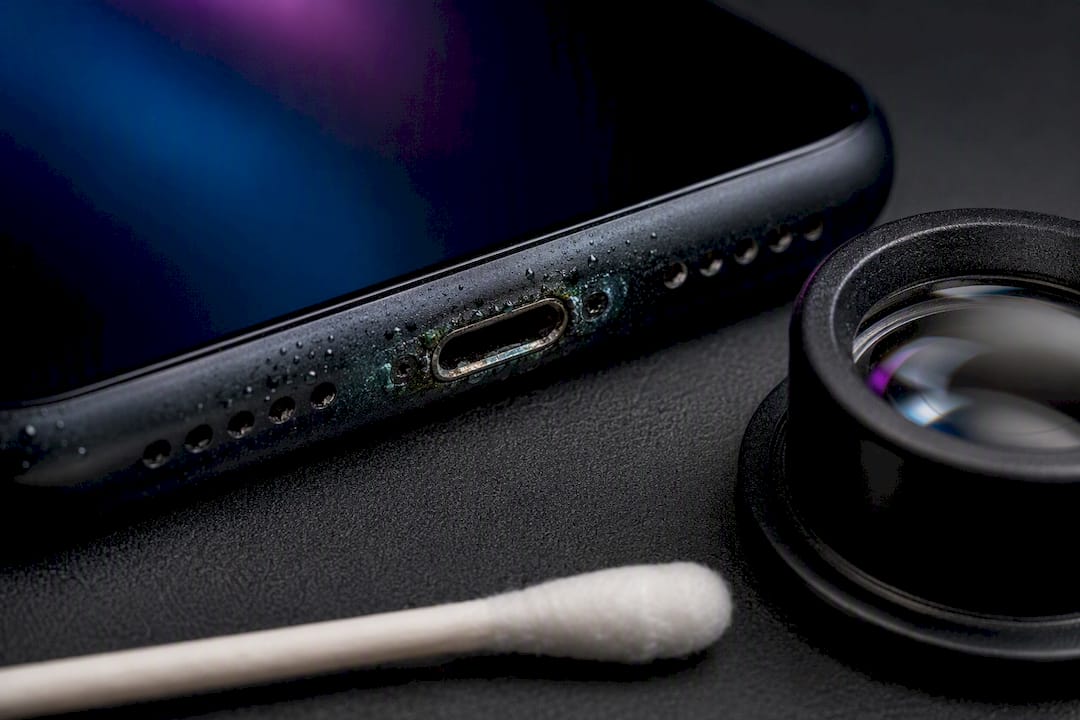
Some damage announces itself immediately. Other damage waits days to show up, which is why a phone that seems fine on day one can fail on day five.
Immediate red flags:
- A “liquid detected” alert when you try to charge
- Rainbow or dark spots visible under the screen
- The phone won’t power on at all
- Visible moisture behind the camera lens
Delayed signs that still mean urgent lab work:
- Random restarts or shutdowns over the following days
- Battery draining far faster than normal
- Crackling or muffled speaker and microphone
- A camera that stays foggy after the phone has dried
Water type changes the clock. Saltwater conducts electricity far more aggressively than fresh water and corrodes contacts within hours, per iParts Repair. Detergent-laced water from a washing machine or dishwasher cycle carries the same risk, since soap residue is also conductive. Fresh water from a pool splash or rain gives you a slightly longer window, but “longer” still means the same day, not next week. Recovery odds drop noticeably once a phone sits wet for more than 48 hours.
What Professional Water Damage Repair Actually Involves
A repair lab doesn’t just blow air on your phone and call it done. The real workflow is closer to circuit board surgery, and understanding it helps you know what a fair quote should include.
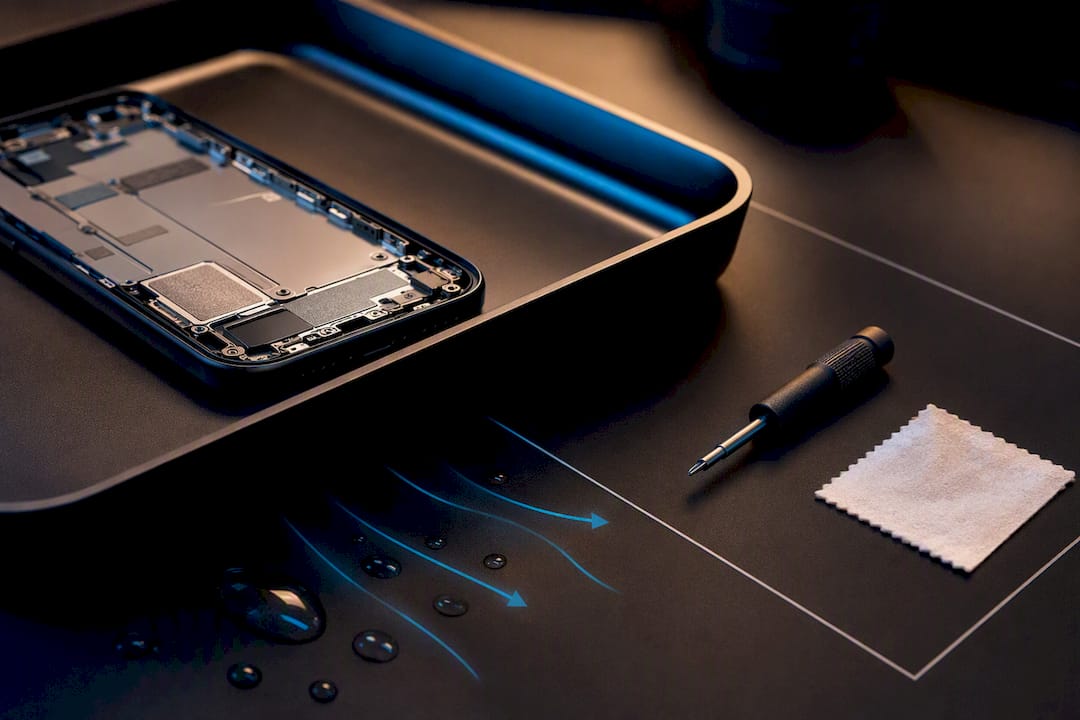
- Full disassembly. The technician separates the battery, screen, and logic board so no component sits against another while wet.
- Shield removal. Metal RF shields cover the chips most vulnerable to corrosion; these come off so cleaning solution can actually reach them.
- Ultrasonic cleaning. The board goes into a solution bath agitated by ultrasonic waves, which lifts corrosion and mineral deposits out from under chips that surface drying could never reach, according to Rossmann Group.
- Microscope inspection. Technicians check for corroded pins, blown capacitors, or lifted solder joints invisible to the naked eye.
- Microsoldering repairs. Damaged components get desoldered and replaced directly on the board, down to individual capacitors.
- Boot testing and data extraction. Once the board is clean and repaired, the lab powers it on and pulls data before reassembly.
Ultrasonic cleaning fixes corrosion and residue. It does not un-fry a chip that already shorted out from being charged while wet, which is why speed still matters even when you’re heading straight to a professional.
| What drives the bill | Why it matters |
|---|---|
| Diagnostic fee | Covers disassembly and inspection before any repair starts |
| Parts replaced | Battery, charging port, screen, or speaker if corrosion reached them |
| Board-level repair | Microsoldering time if a chip or trace needs direct repair |
| Data recovery | Extra step if the board won’t boot but data still needs pulling |
Ask any shop for a diagnostic first and a written quote before repairs begin. Many labs, including ones with no-fix/no-fee policies, according to PC Mobile Sterling, won’t charge you if they can’t recover the device.
What You Can Safely Do at Home Before Mailing It In
There’s a real gap between “helpful first response” and “amateur surgery on a board you can’t see.” Know which side of that line you’re on.
- Safe: Power off, remove the case, dry the outside, and back up data if the phone still boots.
- Safe: Photograph the phone’s condition before shipping it, in case damage is disputed later.
- Unsafe: Opening the phone yourself unless you already have experience with tiny screws, ribbon cables, and adhesive seals.
- Unsafe: Using rubbing alcohol or solvents on internal components without training. Wrong concentration or application can spread corrosion instead of removing it.
- Unsafe: Charging the phone “just to check” before a technician has inspected it.
Pro Tip: Pack the phone in a small box with bubble wrap, not loose in a padded envelope. Boards can shift and snap connectors during transit if the phone isn’t braced.
DIY steps buy you time when they’re limited to the safe list above. The moment you reach for a screwdriver or an alcohol swab without training, you risk turning a recoverable phone into one that isn’t.
Preventing Future Water Damage and Protecting Your Data
The best fix for water damage is having nothing to lose in the first place. Turn on automatic cloud backups now, and actually test that a restore works. Don’t just assume the toggle is enough.
- Enable automatic cloud backups and verify you can restore from one before you need to.
- Treat waterproof phone ratings as a starting point, not a guarantee. Seals degrade with age, drops, and prior repairs.
- Use a proper waterproof pouch near pools, boats, or job sites where a dunk is likely.
- If saltwater exposure happens, power the phone off and rinse the exterior with fresh water only, to dilute the salt, then get it checked, based on guidance from iParts Repair.
- Set a recurring reminder to check that backups are current, not just enabled.
The Publisher’s Perspective on Water Damage Repair
Most water damage guides bury the one thing that actually determines the outcome: speed beats technique every time. A phone rushed to a lab within an hour, with zero DIY intervention, usually beats a phone that got the “perfect” home treatment three days later.
I’d also push back on the instinct to keep testing the phone every few hours. That habit feels productive and does real damage. Digiwrld’s repair intake handles this the way a board-level repair should: diagnostic first, ultrasonic cleaning and screen repair work where needed, then a straight answer on what’s recoverable before any charge hits your card.
— Hayden
Get Your Water Damaged Phone Diagnosed the Right Way
A dead phone sitting in a rice bowl isn’t a repair plan. It’s a delay that costs you the recovery window that actually matters. Digiwrld runs a straightforward diagnostic-first process for water damage: send it in, get an honest assessment of what’s salvageable, and receive a written quote before any work starts, whether that’s board cleaning, a screen repair, or a data pull.

If your data matters and the phone won’t turn back on, don’t wait to see if it “dries out” on its own. Start a mail-in repair request through Digiwrld’s screen repair and diagnostic service today, and ask specifically for a water damage assessment when you book. If the phone ends up unrecoverable, Digiwrld’s current device inventory covers brand new replacements with verified in-stock availability, so you’re not left guessing what’s actually available to buy.
Sources
- Water-Damaged iPhone Recovery | Rossmann Group
- Phone Fell in Water? First 24 Hours Data Checklist | MDRepairs
FAQ
Can a Water Damaged Phone Be Fixed?
Yes, often, especially if it’s powered off immediately and reaches a repair lab within a day or two. Success depends on how much water got in, whether it was salt or fresh, and how quickly ultrasonic cleaning can remove corrosion before it spreads to critical chips.
Will a Water Damaged Phone Eventually Dry Out on Its Own?
The surface will dry, but trapped moisture under shields and connectors doesn’t evaporate cleanly on its own, and corrosion keeps working the entire time. A phone that seems to recover after a few days of sitting out has usually just avoided the worst outcome, not fixed the underlying damage.
Does Water Damage Go Away on Its Own?
No. Corrosion that’s already started continues quietly even after the phone feels dry and functions normally for a while, based on findings from MDRepairs. That’s why a phone can work fine for a week and then start crashing or losing its speaker.
How Much Does It Cost to Fix a Water Damaged Phone?
Cost depends on how far corrosion spread and which parts need replacing, from a straightforward cleaning up to full microsoldering and a new battery or port. Digiwrld’s screen repair service starts diagnostics with a written quote before any repair work begins, so you know the cost before committing.